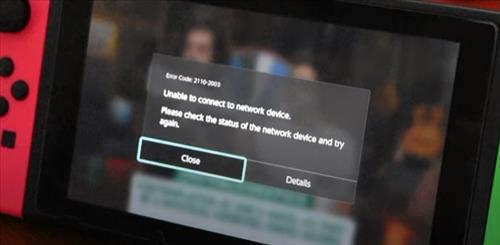
If you get an error code when trying to connect WiFi to the internet with the Nintendo Switch, there are a several fixes that can help solve the problem.
Internet connection issues are a common problem with the Nintendo Switch.
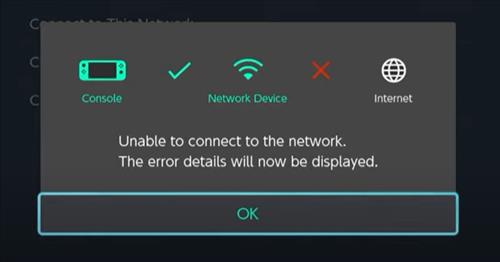
A message often appears saying Unable to connect to the network. The error details will now be displayed.
Commonly, after an SD-card upgrade or a System Update, the WiFi will stop working
Several fixes can be done which will get your Nintendo Switch back online.
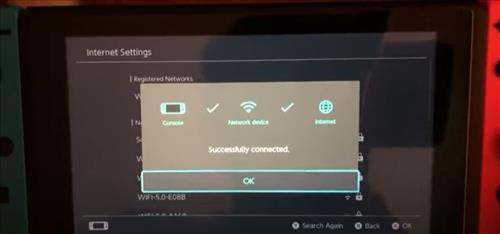
Below are the most common fixes starting with the most obvious to more technical fixes.
5 Fixes When a Nintendo Switch Won’t Connect to WiFi
- Restart the Router
- Test the Internet with Another Device
- Restart/Reset the System from the Menu Option
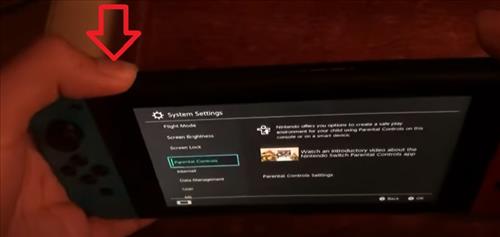
- Hold the Power Button Down
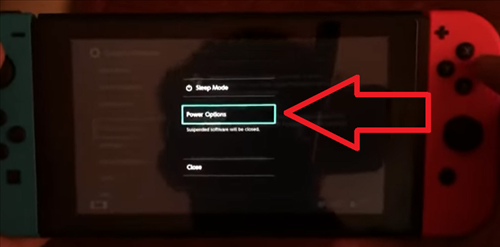
- Hold the button until a Menu comes up and select Power Options
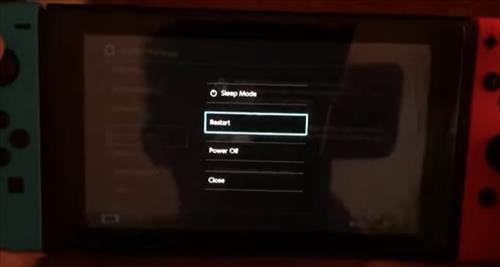
- Select Restart or Power Off and Back On
- After the system restarts, test the WiFi to see if it works.
- Change the Wireless Security Protocol
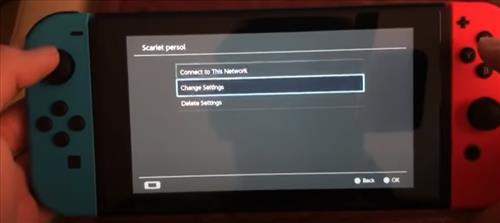
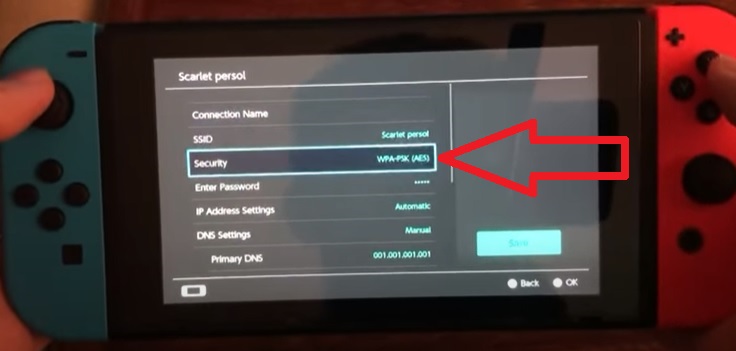
- Go to System Settings–> Internet Settings–> Change Settings
- Select Security
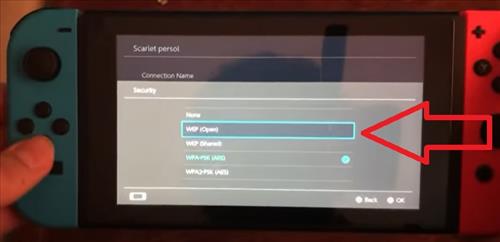
- Change the Security Protocol to WEP or WPA2
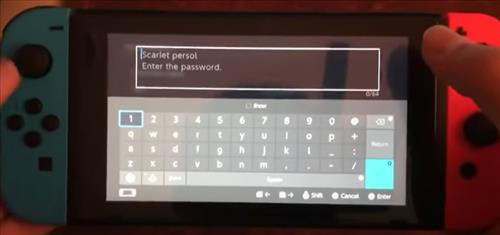
- Enter You WiFi Password
- Test your connection and see if it works
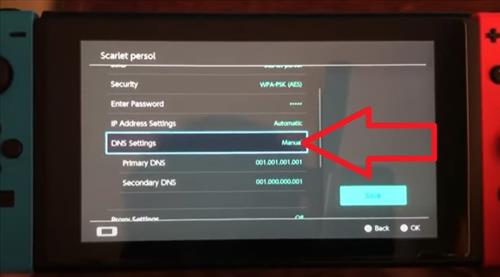
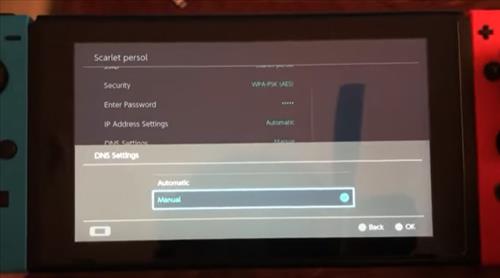
- Change the DNS Settings
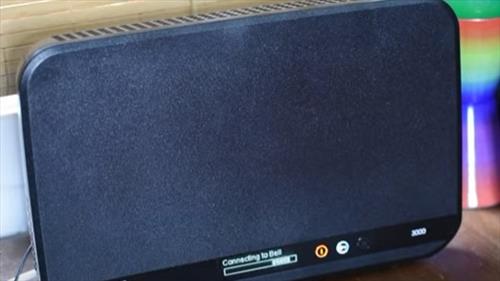
Routers sometimes have issues and need to be reset to clear out an error.
There is often a power off/on button on the unit, or the router can be unplugged and plugged back in.
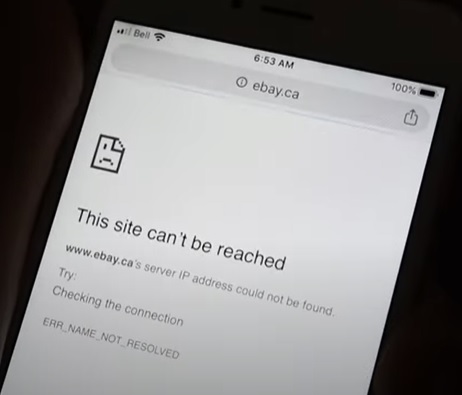
Testing the internet with another device is a quick easy way to see if the internet is down.
Any other device can be used such as a smartphone or laptop simply verify the internet is working.
If the Nintendo Switch is constantly left in Sleep Mode, the WiFi can sometimes have issues.
Power restarting the system from the menu option clears out old data that otherwise may not get cleared.
This includes system errors or other errors that could cause the wireless not to work.
How To Hard Restart/Reset the Nintendo Switch
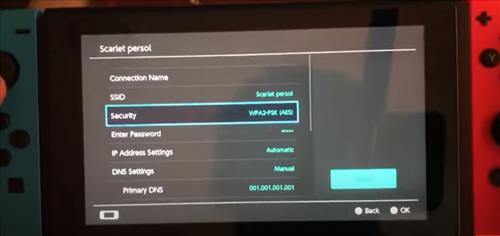
Changing the WPA security settings often fixes the WiFi issue with a Nintendo Switch.
WPA or WEP is the main way WiFi transmission are secured and encrypted from prying eyes.
Changing the protocol to WPA2 or another protocol such as WEP often will get the Switch back online.
The wireless security can be changed to WEP, which is not as secure as WPA but may not matter to someone just gaming.
How To Change the Change the Wireless Security Protocol on a Nintendo Switch
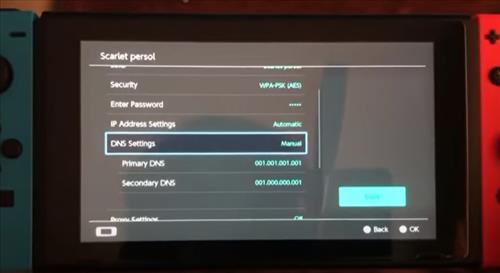
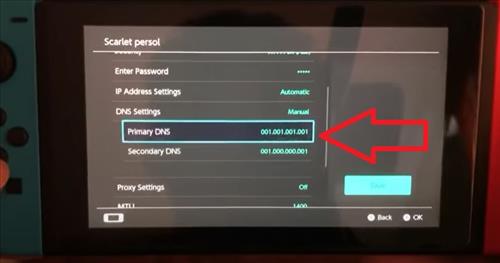
The DNS setting can also cause the Switch WiFi to have issues stop working.
A DNS (Domain Name System) is where an IP Address number is translated into a website name.
Computers use IP Addresses to go to a website while people use names.
A DNS server translates IP Addresses into readable websites names people understand.
DNS servers are set by an IP number, and can be Country specific, so be sure to Google working DNS servers in your country.
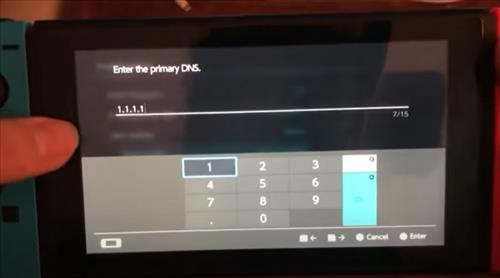
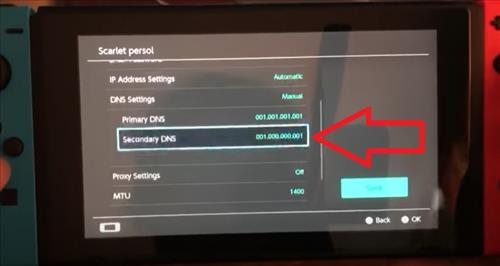
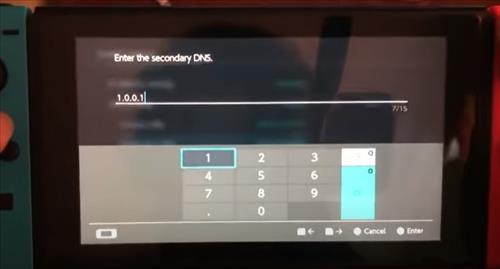
A very common DNS Server IP Numbers are 1.1.1.1 and 1.0.0.1 are common but there are many more.
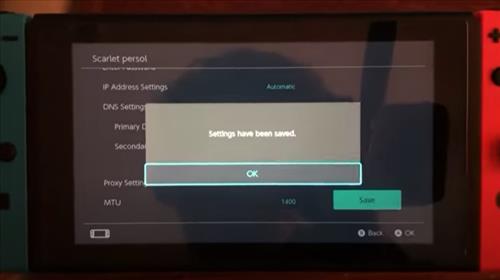
Steps to Change Primary and Secondary DNS Settings on a Nintendo Switch
Summary
When a Nintendo Switch or any gaming device is having WiFi issues, it can be very upsetting.
It is a common problem for the Switch to have wireless problems with many fixes online.
Start by looking at the easy fixes, such as if the internet is working, which while not likely the problem but should to be checked first.
Many users have good luck powering down the unit and power it back on.
Other users have had good luck changing the DNS server number.
Hopefully, one of the fixes above help to solve your device error.
Have you had issues with the WiFi not working on your Nintendo Switch? Let us know your thoughts below.
0 Commentaires