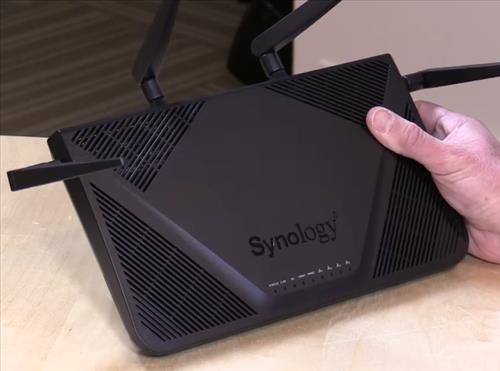
The Synology RT2600AC router is a good WiFi-5 router with a lot of added features and options.
One such option is the ability to configure a VPN on the router that all devices in a home or office can use.
While it is not the newest router with WiFi-6 speeds it can still work well when setup as a VPN.
Having a router set as a VPN allows for any device connected to it to automatically be directed through the service.
When configured on a router, it saves having to install and set up a VPN on multiple devices.
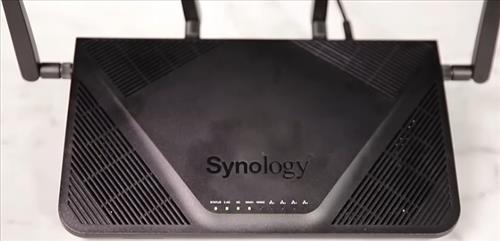
The Synology RT2600AC router has good basic hardware with a 2-core 1.73GHz CPU and 512MB of RAM.
Things Needed to Setup a VPN on a Synology RT2600AC
- VPN Service Provider
- VPN Service Config File
- Computer Connected to the Synology RT2600AC Interface
A VPN service provider will be needed with many good VPNs available.
A few of the current top VPNs include IPvanish, ExpressVPN, and NordVPN.
Whichever VPN is selected a file called the Config File will need to be downloaded from the VPN provider.
The Config File contains all the VPN server addresses and a security certificate called a CA file.
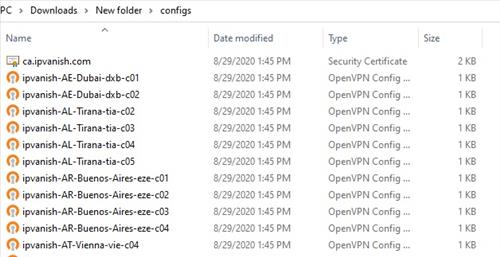
The CA file is usually at the top of the list with all the VPN servers listed below it.
Often there are thousands of servers available to choose from.
Multiple profiles can be set up each with a different server selected to get the best speeds for your location.
How To Install a VPN on a Synology Router
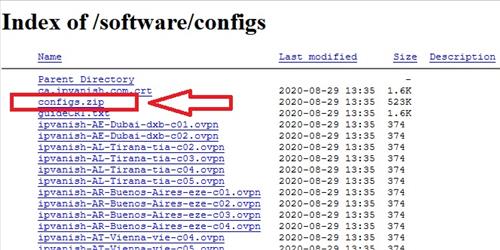
- The first thing to do is Download the configuration file called configs.zip. In this example, I am using IPvanish VPN.
- Extract the file configs.zip
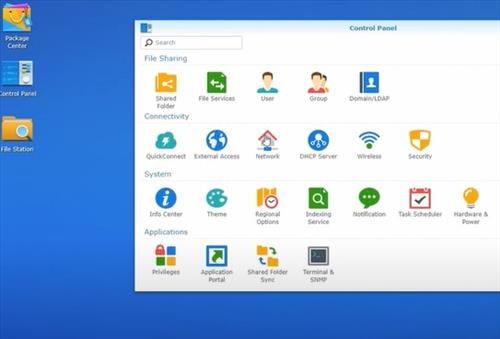
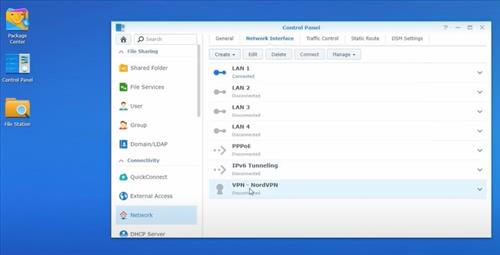
- Log into the Synology router and Click on Control Panel.
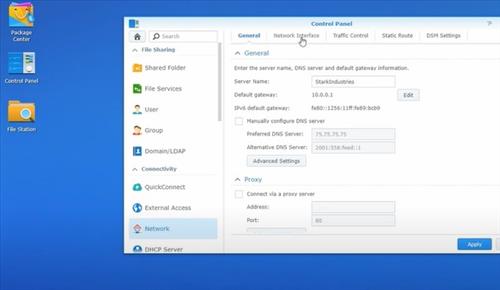
- Click Network.
- Click Network Interface.
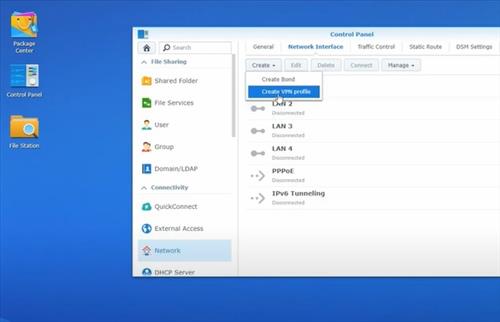
- Click on Create and Create New VPN Profile.
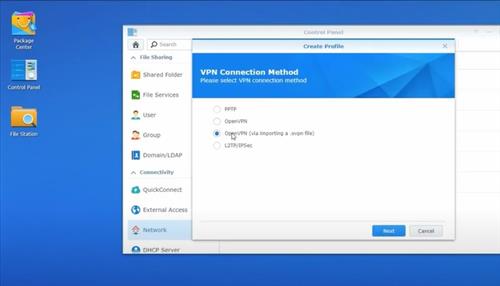
- Select Open VPN (via Importing a .ovpn Profile) and click Next.
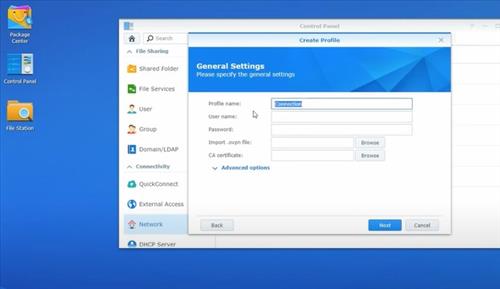
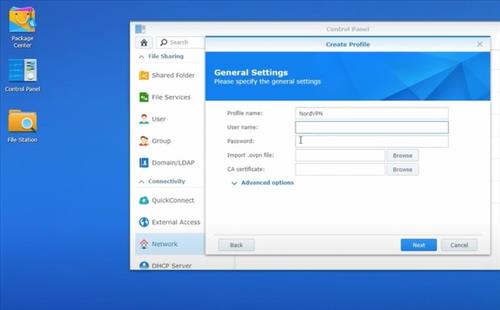
- Enter a Profile Name which can be anything.
- Enter the VPN provider Username and Password.
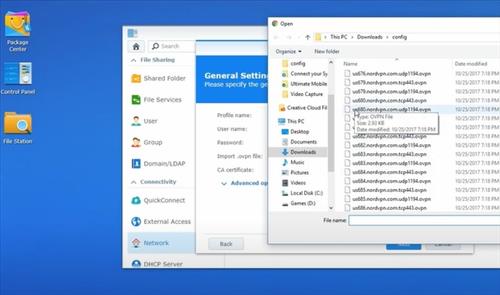
- Click Browse on Import .ovpn file and select a server from the Configs File list.
- Click Browse on CA certificate and import the security certificate usually at the very top of the list.
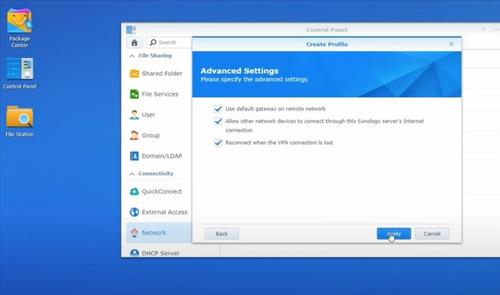
- Click Next, there will be more advanced options that will be user-specific.
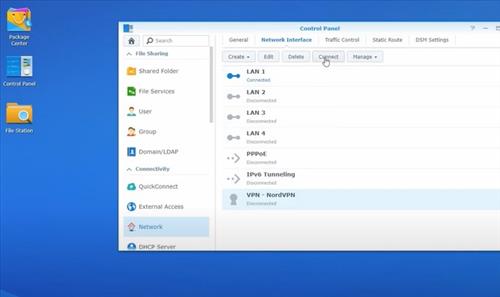
- Once done the VPN Profile will be listed.
- Select the VPN Profile and click on Connect.
https://www.ipvanish.com/software/configs


0 Commentaires